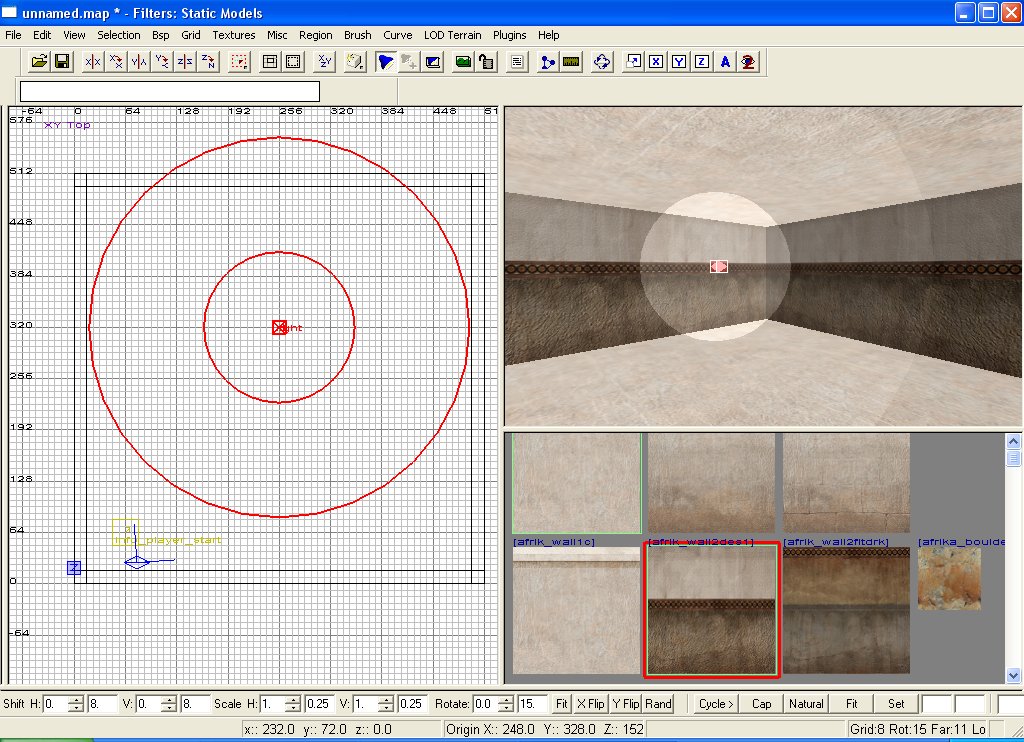
For this tutorial I have created a room (hollow
box) with the dimensions of (approx: 512 x 512 x 512)
similar to the one created in the First Room tutorial.
Note : The kind of light we are going to cover is the
light that is emitted by a standard lamp or light fitting.
It is not sunlight and these types of lights should
not be used to light large outdoor areas. If you wish
to learn how to create sunlight, please feel free to
read the Sunlight
tutorial.
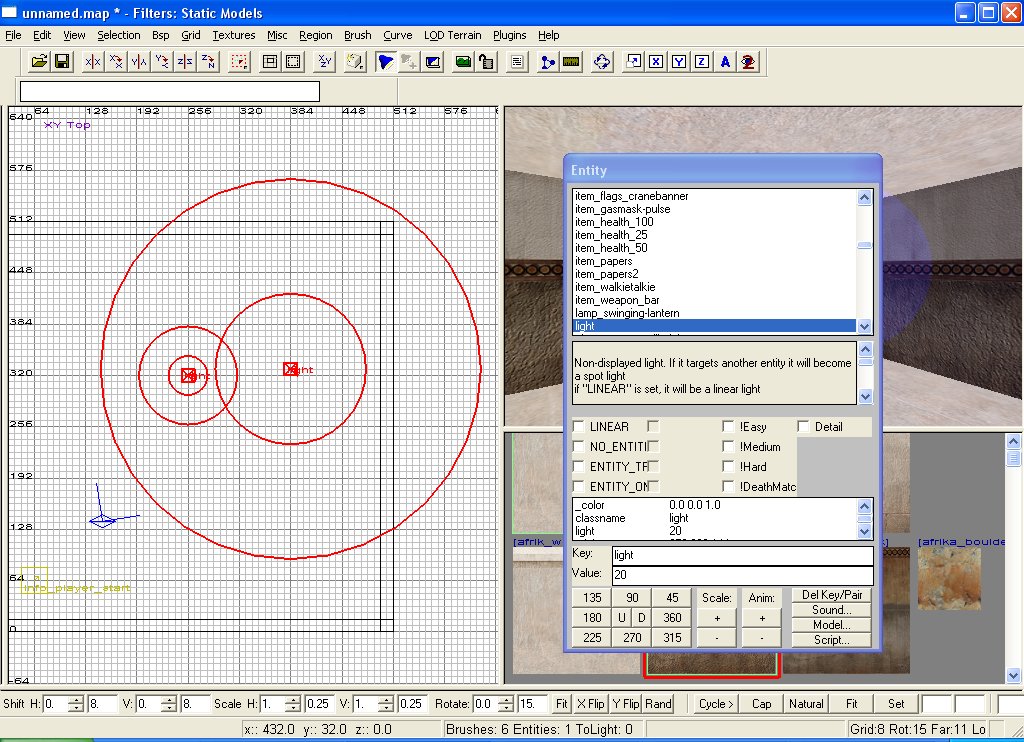
To add a light to your level right click on the map.
Select light from the long
list that appears and voila, your first light.
At the moment the light is white and has a radius of
300 units. Lets change the colour of the light. There
are 2 ways to do this.
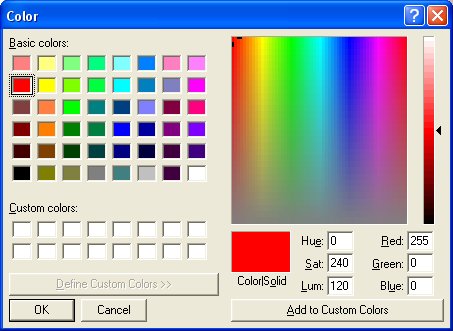
(1) With the light still selected (red border) press
k. This brings up the colour chooser. Simply select
the colour you want.
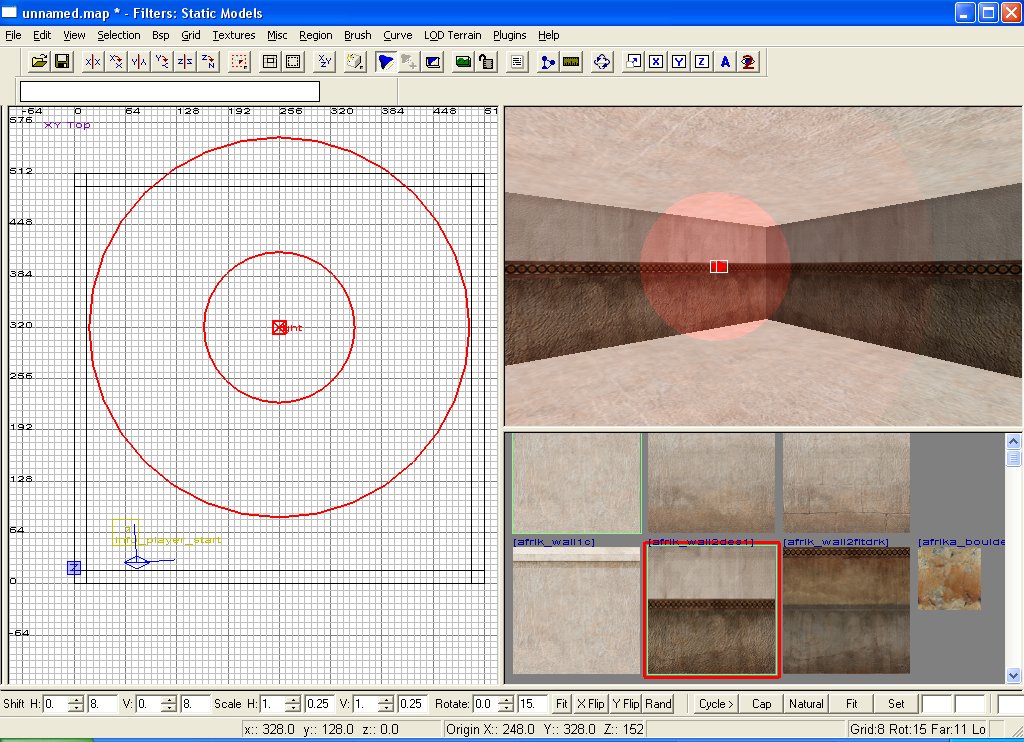
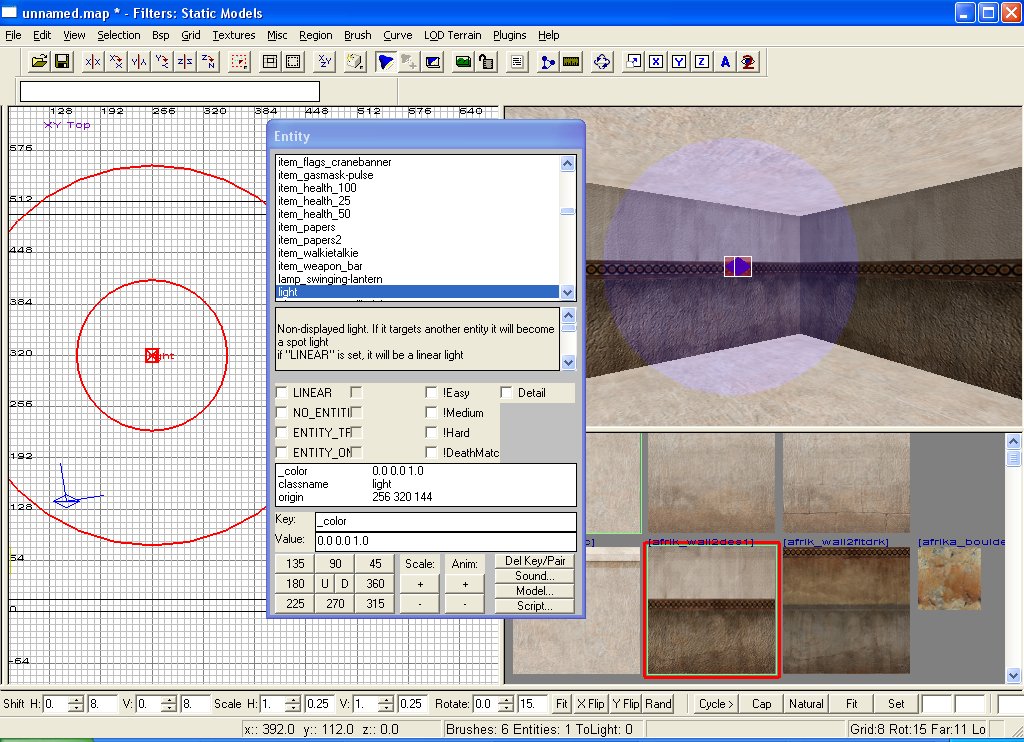
(2) With the light selected press n. This brings up
the entities properties. Find the key and value entry
boxes. In the key box type _color. In the value box
type the RGB number for the colour you want ie : 0.0
0.0 1.0 is blue, 1.0 0.0 0.0 is red and so on. Hit return
and the light should turn to that colour.
Changing the radius of the light is done in the same
way. With the entity properties box still open, type
light in the key box, and a number under the value.
The number is the "range" of the light. Place
an infoplayerstart into
your map, save, compile and then enjoy.
Tip on good mapping practise : Always have a "source"
for a light. i.e a lamp or light model. It makes the
map look far more professional