A map without textures can be compared to a painting
with out the paint. Learning how to texture your map
and how to manipulate these textures is a very important
part of the mapping process. Though the building blocks
give the map its shape and layout, the real depth of
a map may be seen by the way it is textured.
The basic process of texturing is fairly simple to
grasp. In MoHAA, each texture is located in a texture
set. These texture sets are based around a theme so
you will be able to find similar textures in the same
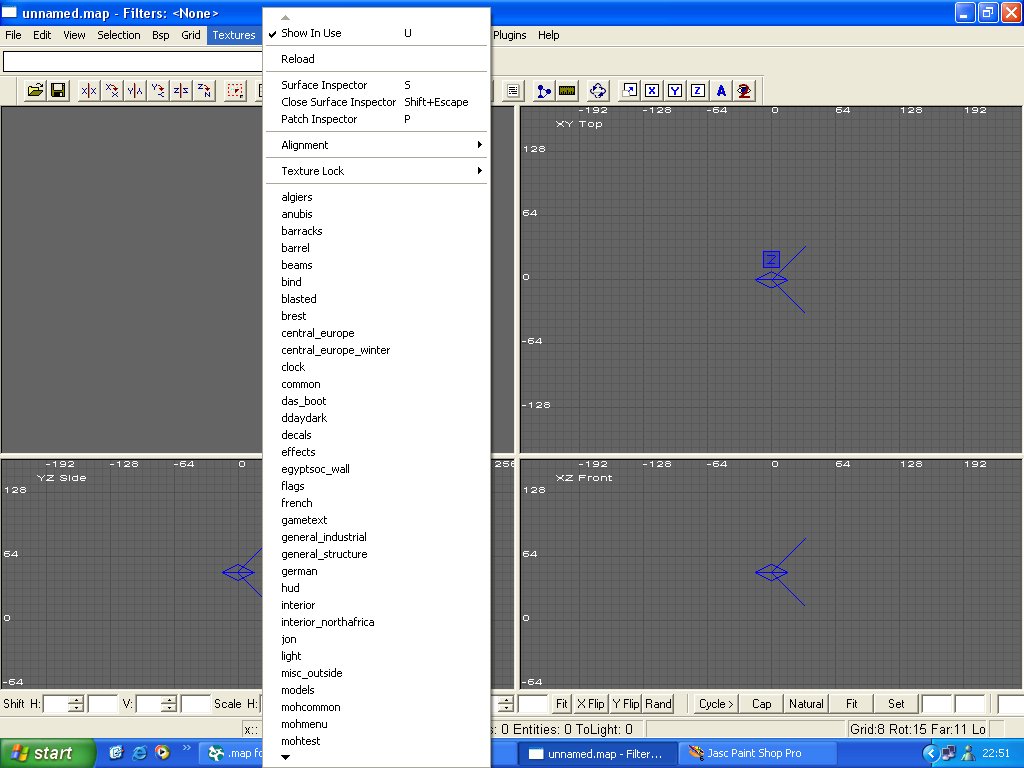
set. If you click on the textures menu in MoH Rad, you
will be faced with something similar to what is shown
below.
I'll quickly run down what everything means in the
texture menu.
Show in Use - If you select
this, only the textures that are currently being used
in your map are displayed in the texture box / window.
Reload - Reloads the textures
in use.
Surface Inspector (Hotkey
S) - This brings up the Surface Iinspector. This is
explained fully in the Advanced
Texturing tutorial.
Close Surface Inspector
- Doesn't seem to work
Patch Inspector - Again
this will be explained in depth in the Advanced
Texturing tutorial.
Alignment- a sub
menu that allows you to manipulate the texture on the
selected brush / brushes.
Texture Lock - Again a
sub menu, texture lock "locks" the texture
onto the selected brush when u are moving or rotating
the brush.
The texture sets begin at algiers
and end at window. You
can scroll up and down the list using the arrows.
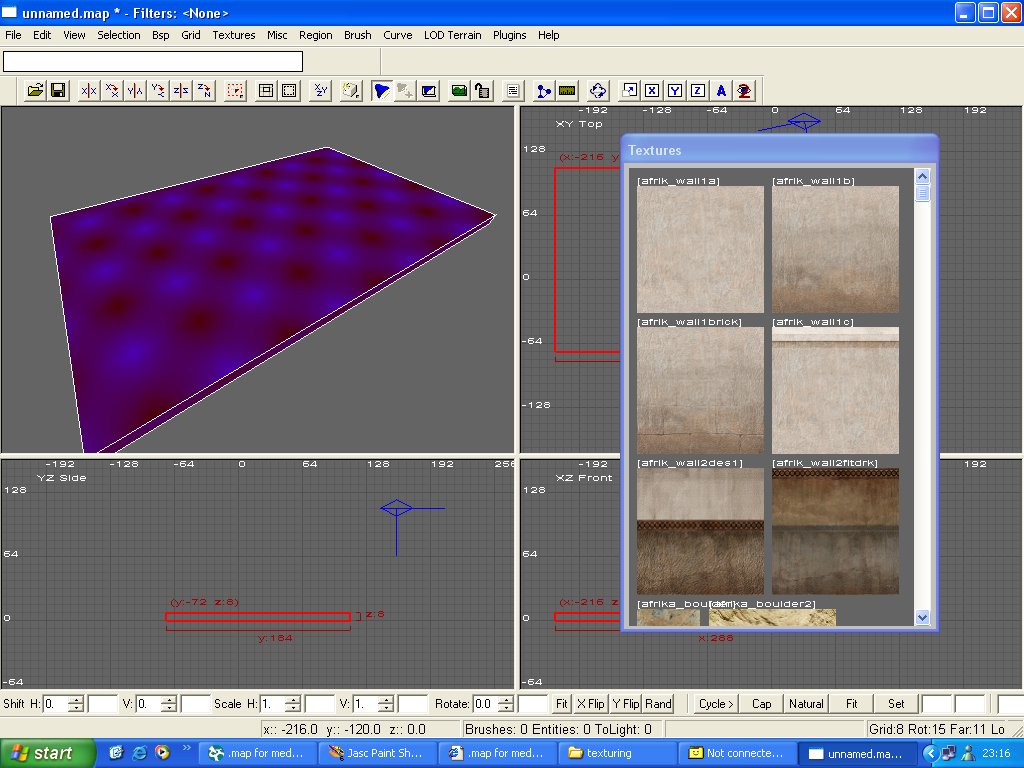
Ok, click on algiers in the texture menu. In the texture
window / box, after a small pause whilst the textures
load, all the textures located in the algiers texture
set will appear. (if you can't see any textures press
T to bring up the texture box - this will depend
on the layout you have chosen for MoH Rad). See below:
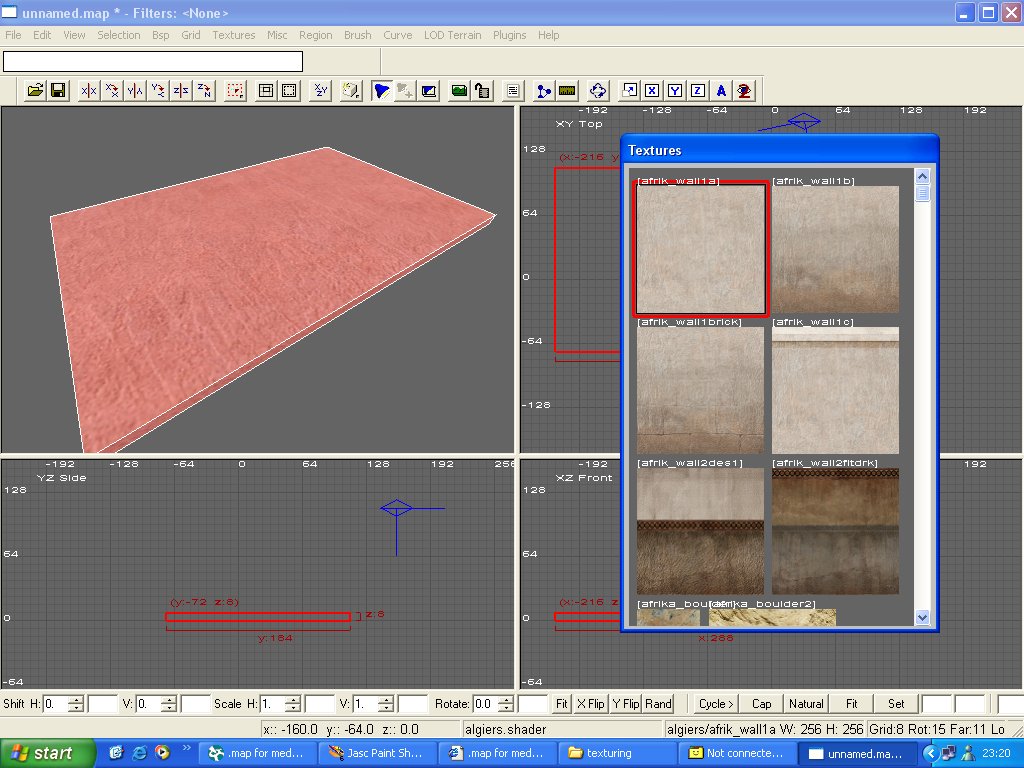
With your brush selected (shift + left mouse button),
simply choose a texture (I've chosen the first one -
afrik_wall1a) and click on it. Voila. Your brush should
now be textured with the afrik_wall1a texture as in
the picture below:
You should notice that sll 6 sides of your brush have
been textured with the same texture. This is normally
not what you want. Deselect your brush (hit escape).
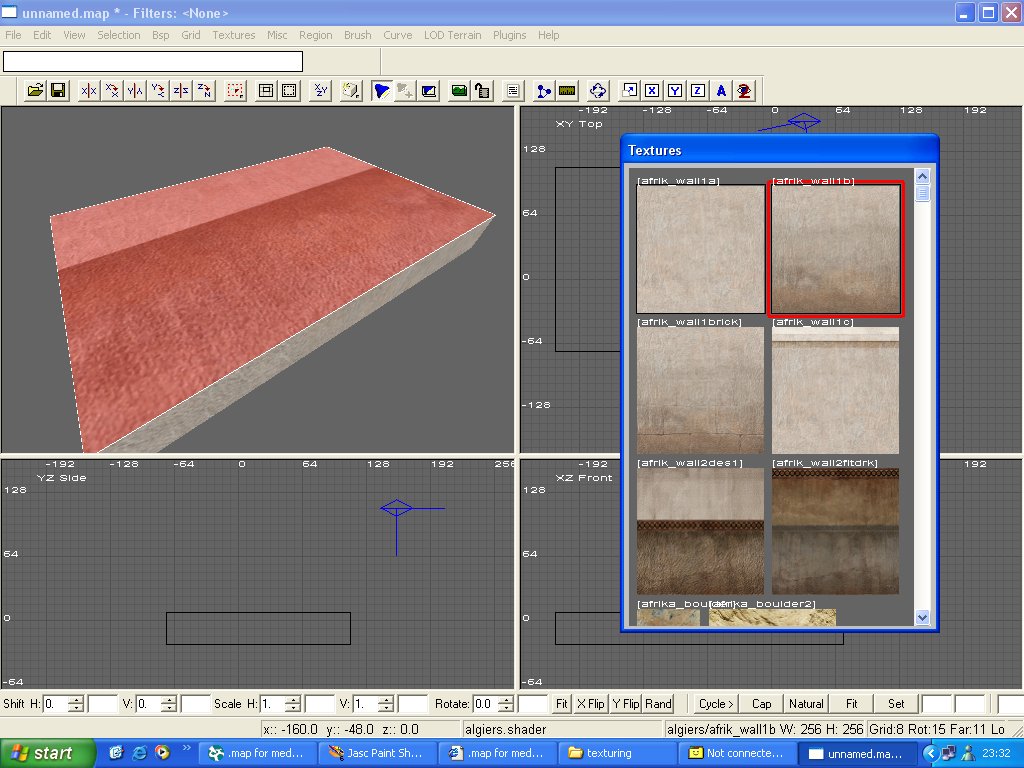
Now I'm going to show you how to texture 1 side of your
brush. Its important that you understand how to do this
in conjunction with caulking.
To select a single side orface
of a brush, simply hold down Ctrl and Shift, then left
click on the face that you want textured. You should
see that individual face selected in red rather than
the entire brush. The texturing process is then the
same. Select the next texture in the list (afrik_wall1b).
The picture below shows the desired results.
So thats pretty much it for the basic methods of texturing
a brush. To scroll down the texture window / box, hold
down the right mouse button in the wondow / box, and
drag your mouse up or down. Alternately, go to preferences
and select texture scrollbar, for a handy aid.
To learn all about manipulating textures and how to
texture patch meshes / curves, head on over to the Advanced
Texturing tutorial.